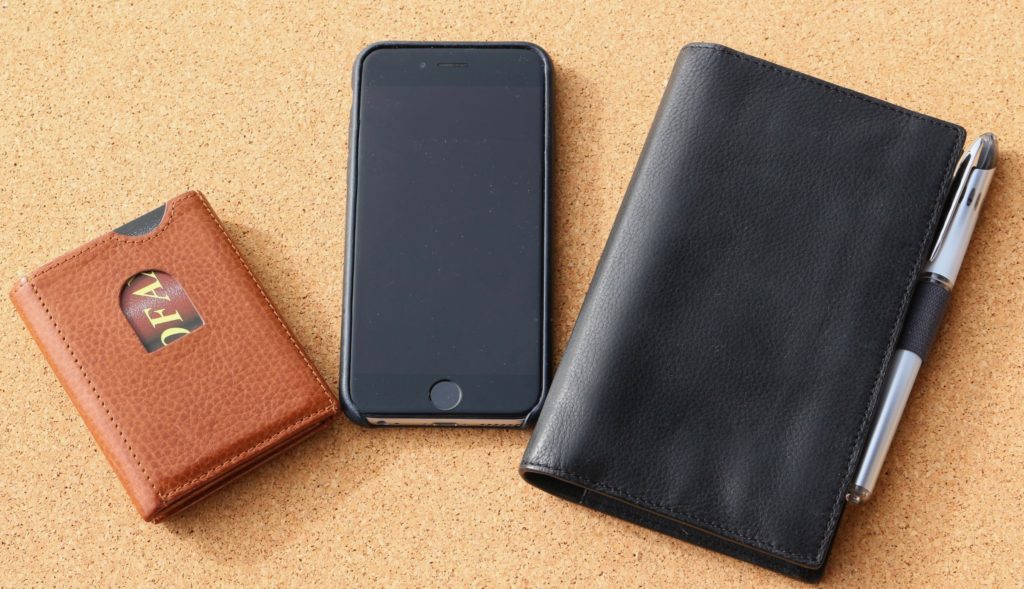
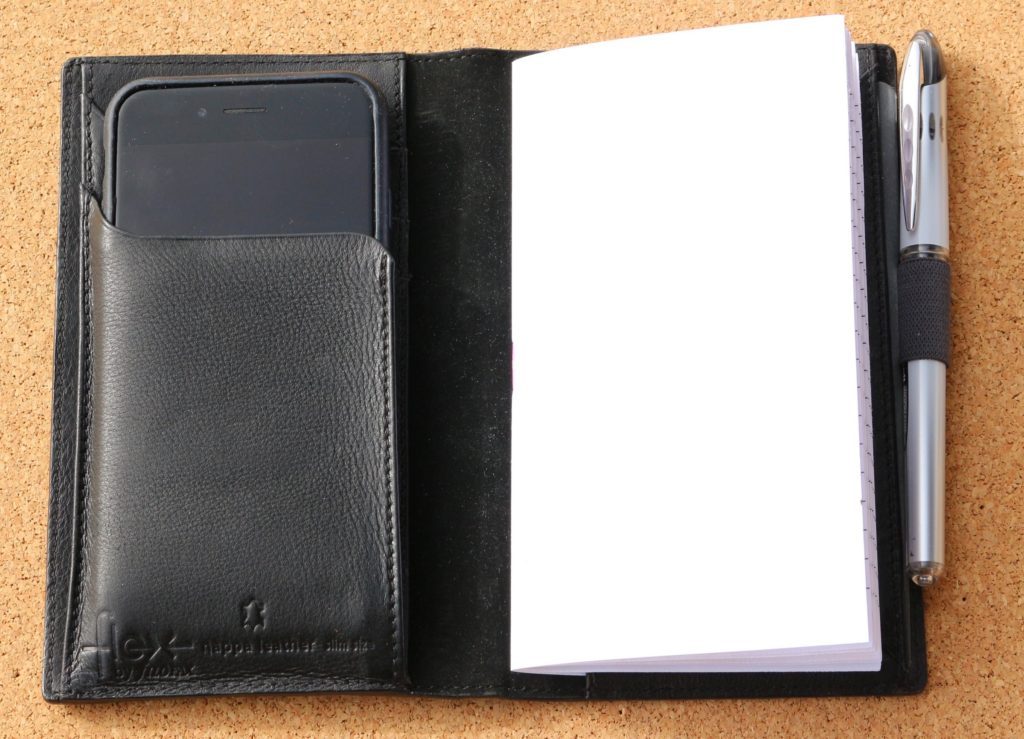
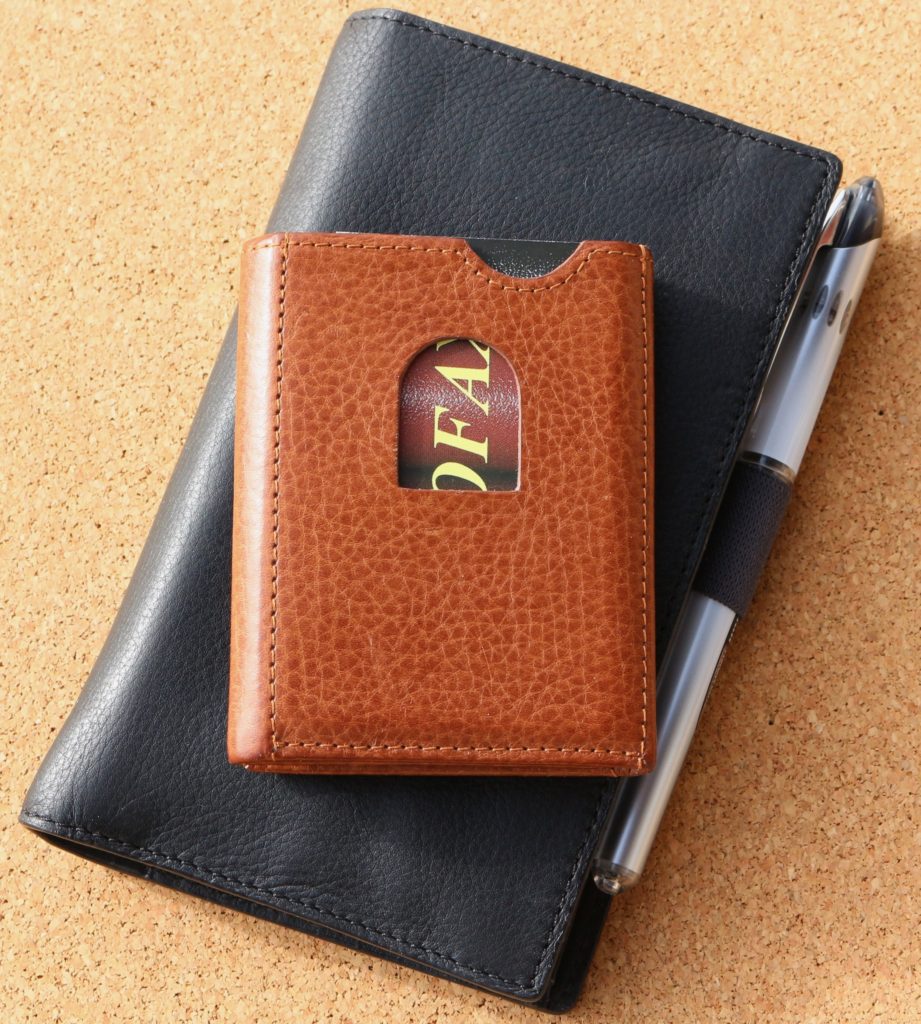
The Filofax Flex has a gusseted pocket on the front inside cover which will take my iPhone 6 easily still with its case on too. Tucked in there it wouldn’t be a distraction during our meal! The pen is my usual Uniball Vision Elite rollerball
The Flex Slim takes notebooks that are 15cm by 8.5cm not a common size. You can of course buy replacements from Filofax but I made this one myself with a simple template and followed the instructions by Ray Blake in his video. I kept the number of pages down to just 12 pages and added a card-stock cover, it keeps it fairly slim and compact. I used Clairefontaine 80gsm paper for the notebook.
The three together fit easily together and fit comfortably in my jacket pocket.
I will be using this combination quite a lot more for short trips out, if I think of something I need to remember I will have a notebook ready to hand every time.
I’ve recently seen people taking the rings out of Filofax organisers and converting them to notebook covers. In most cases this is a one way trip, there is no turning back once the rings have been removed.
I thought it might be possible to come up with a solution that was reversible, should you want to restore it to a ring bound organiser, and without doing any visible damage to the leather organiser, hence retaining its value.
This modification only works with an organiser with removable rings not ones that are riveted in. But I think you will be able to follow the steps easily enough from the photos below.
Once modified, the swap from rings to ‘elastic strung’ and back again to rings can be achieved quite quickly.
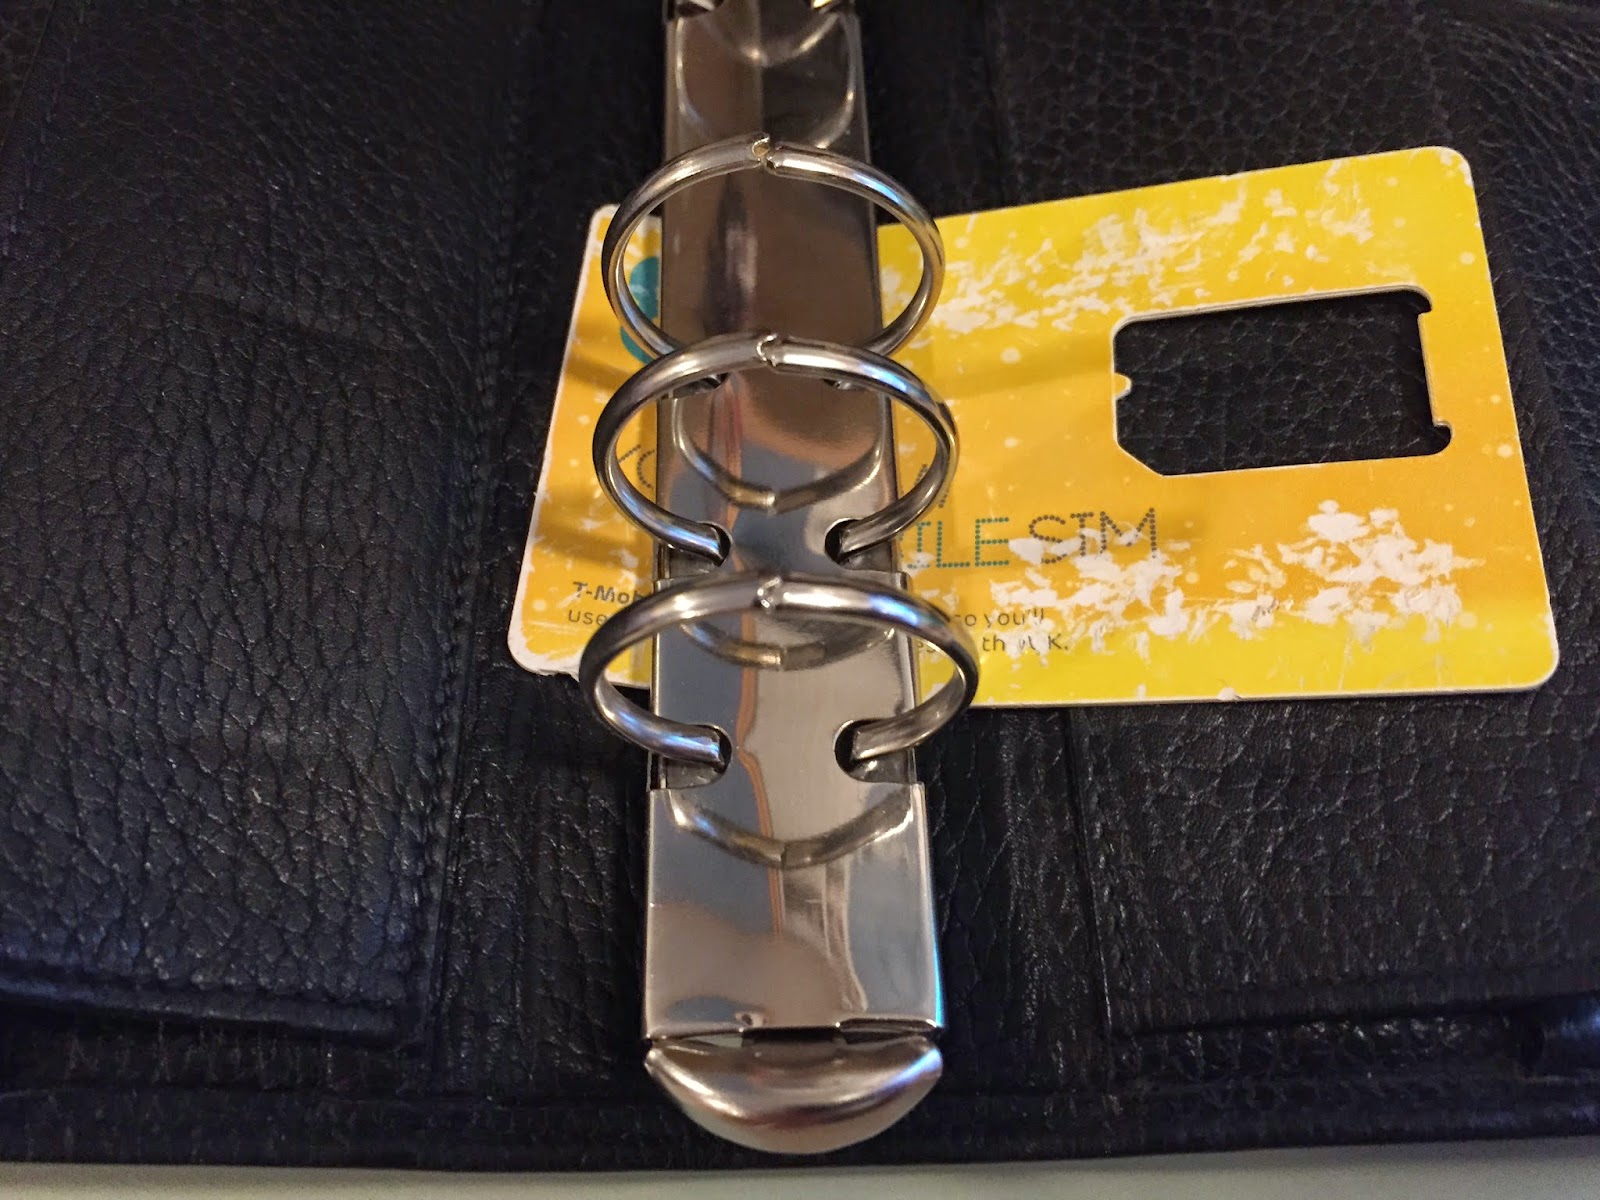
So take your organiser, a personal size one in this case.
I used a slim bit of plastic to slide under the ring mech to lift the latch.
Alternatively follow the first part of this video on how to remove the rings.
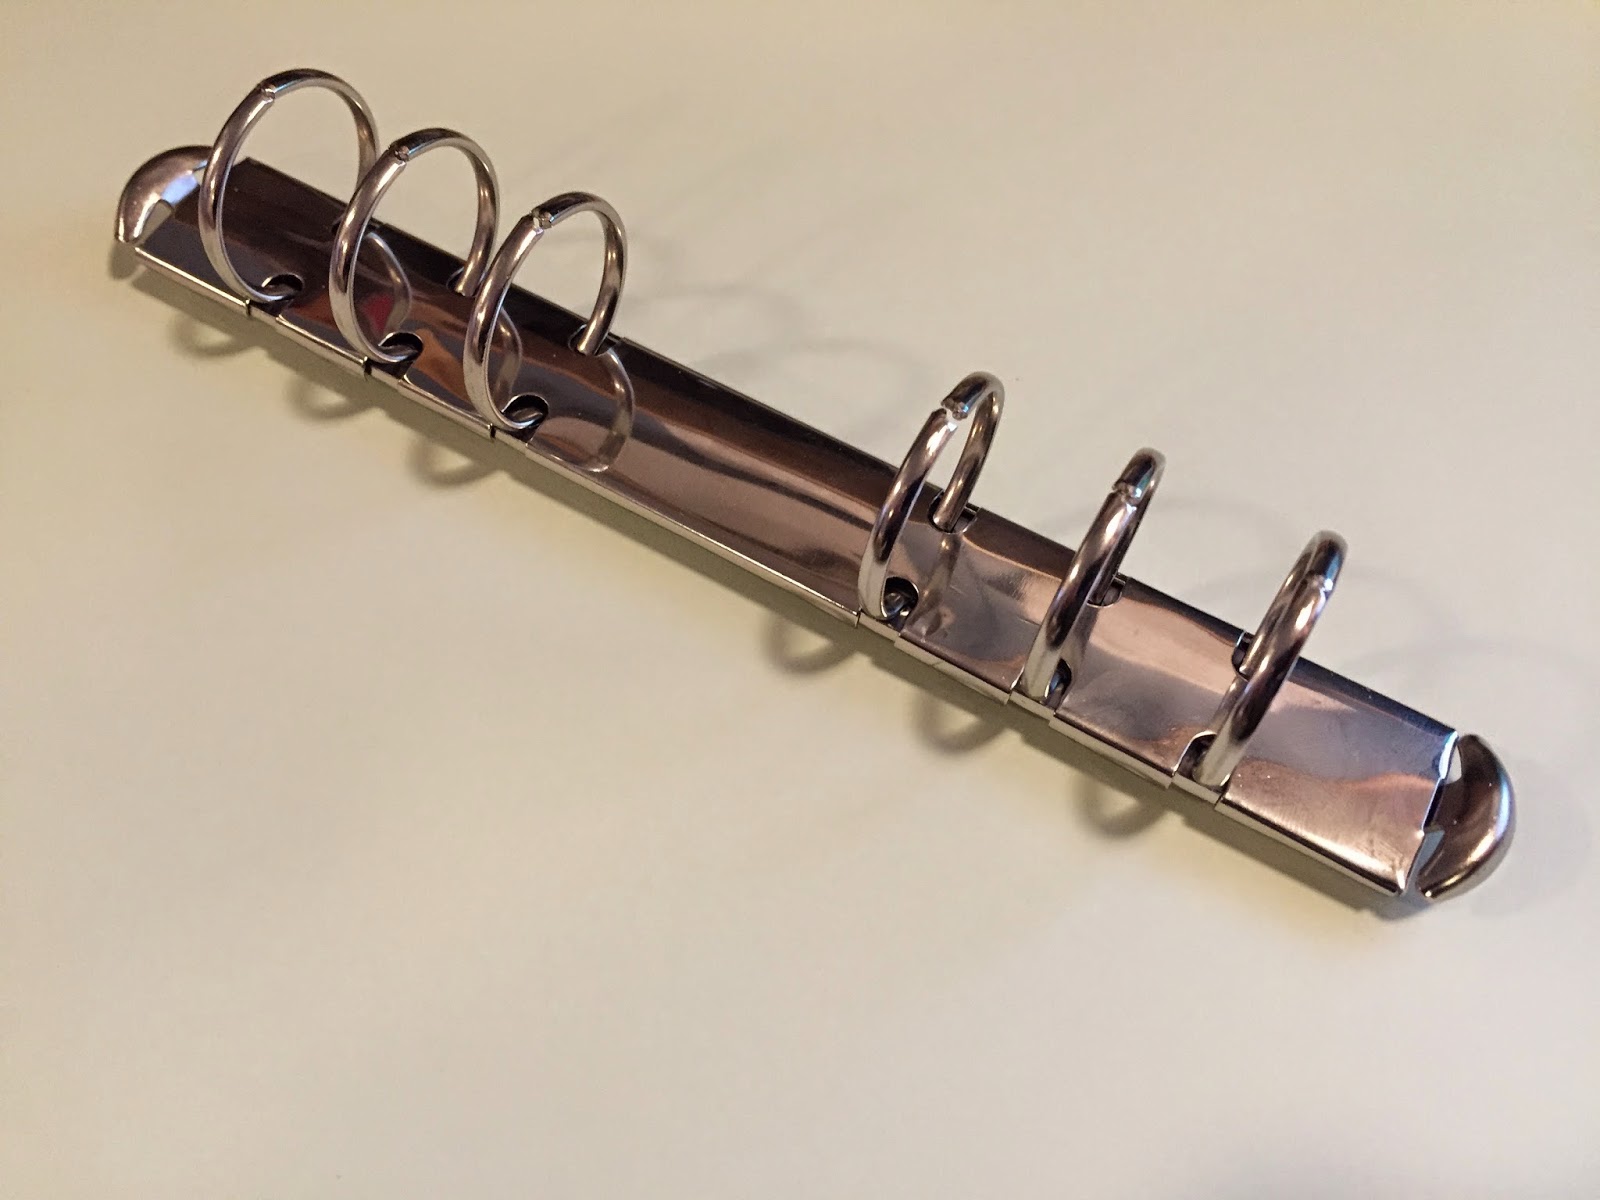
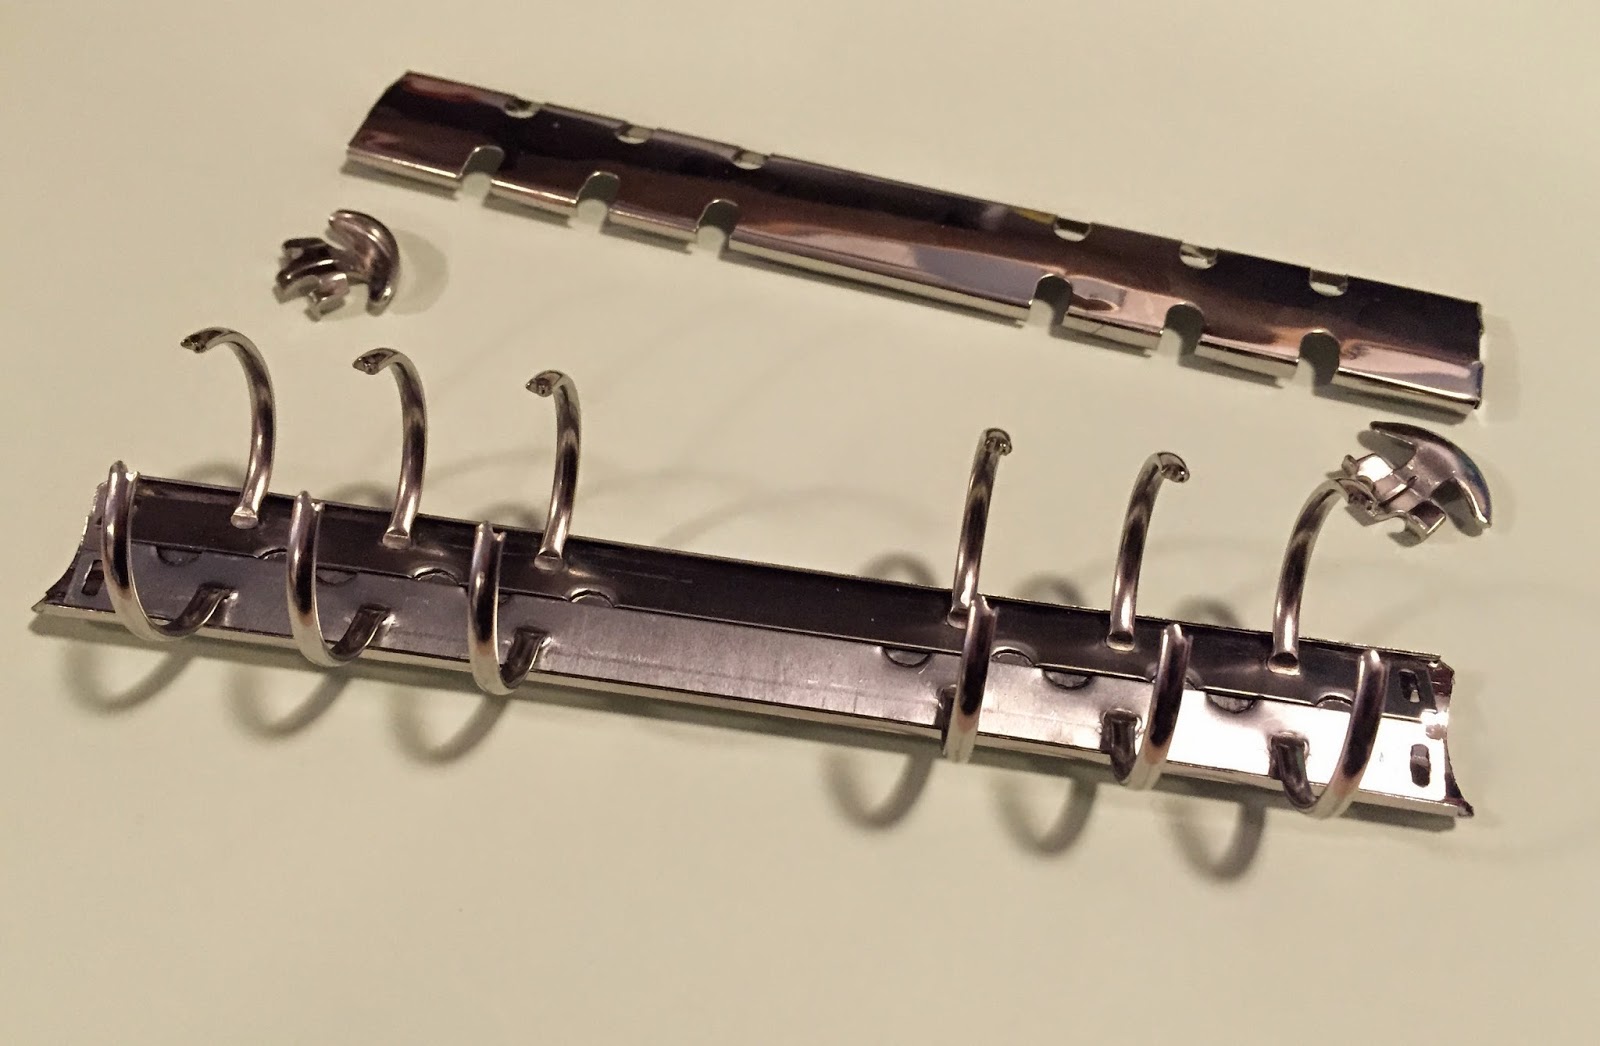
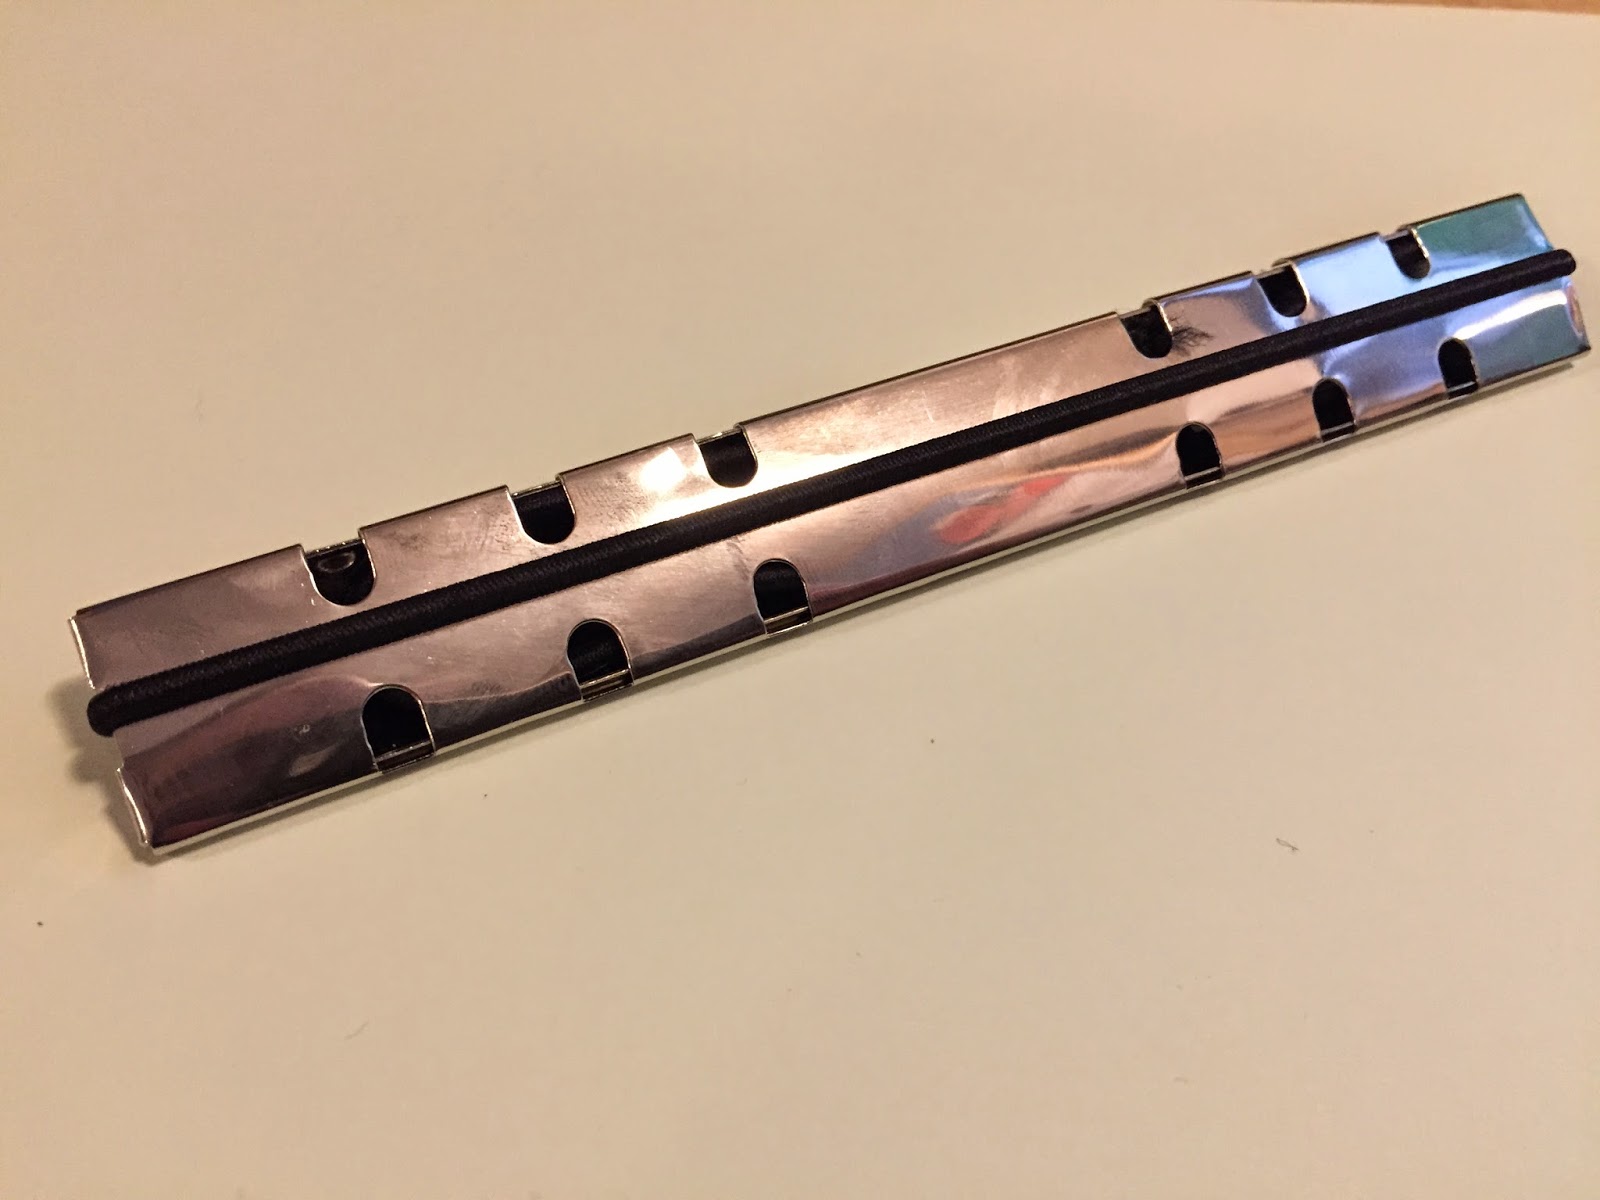
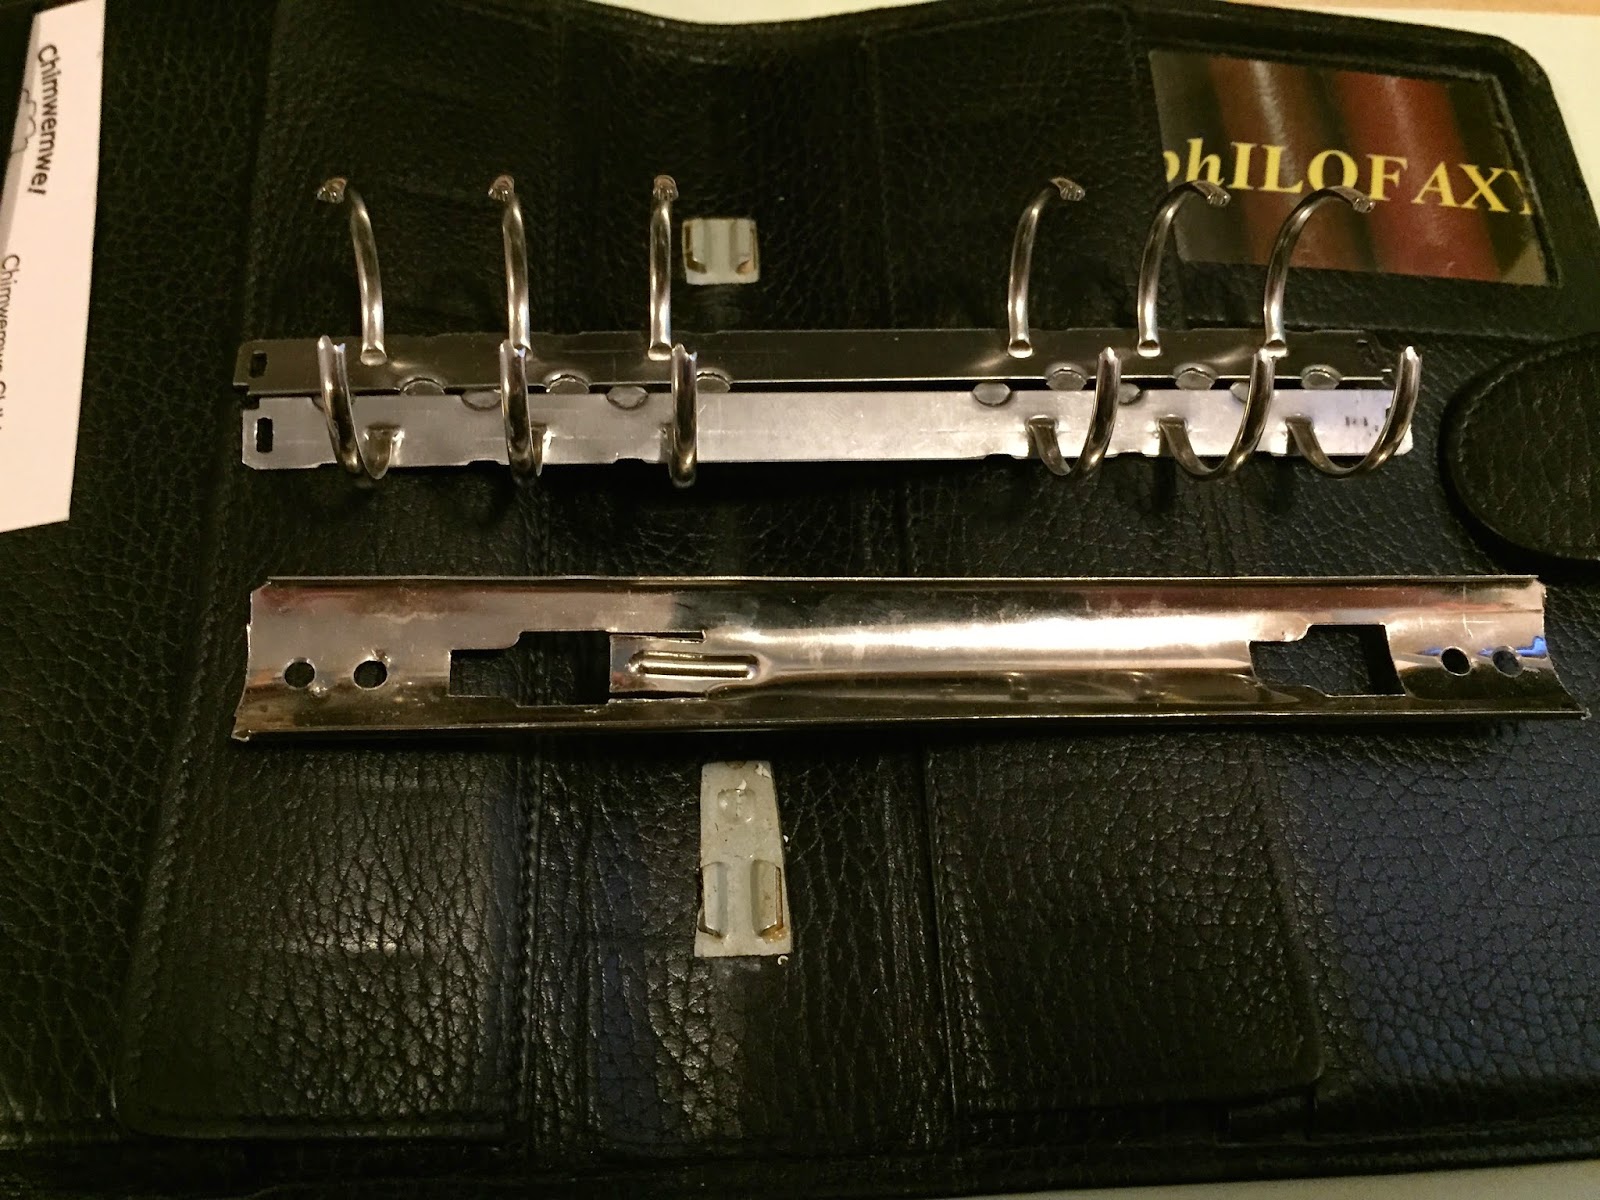
With the ring mech removed from the organiser. We then need to take it apart. Again watch the video if you haven’t done this before.
Firstly remove the cover plate by easing it off a section at a time down one side.
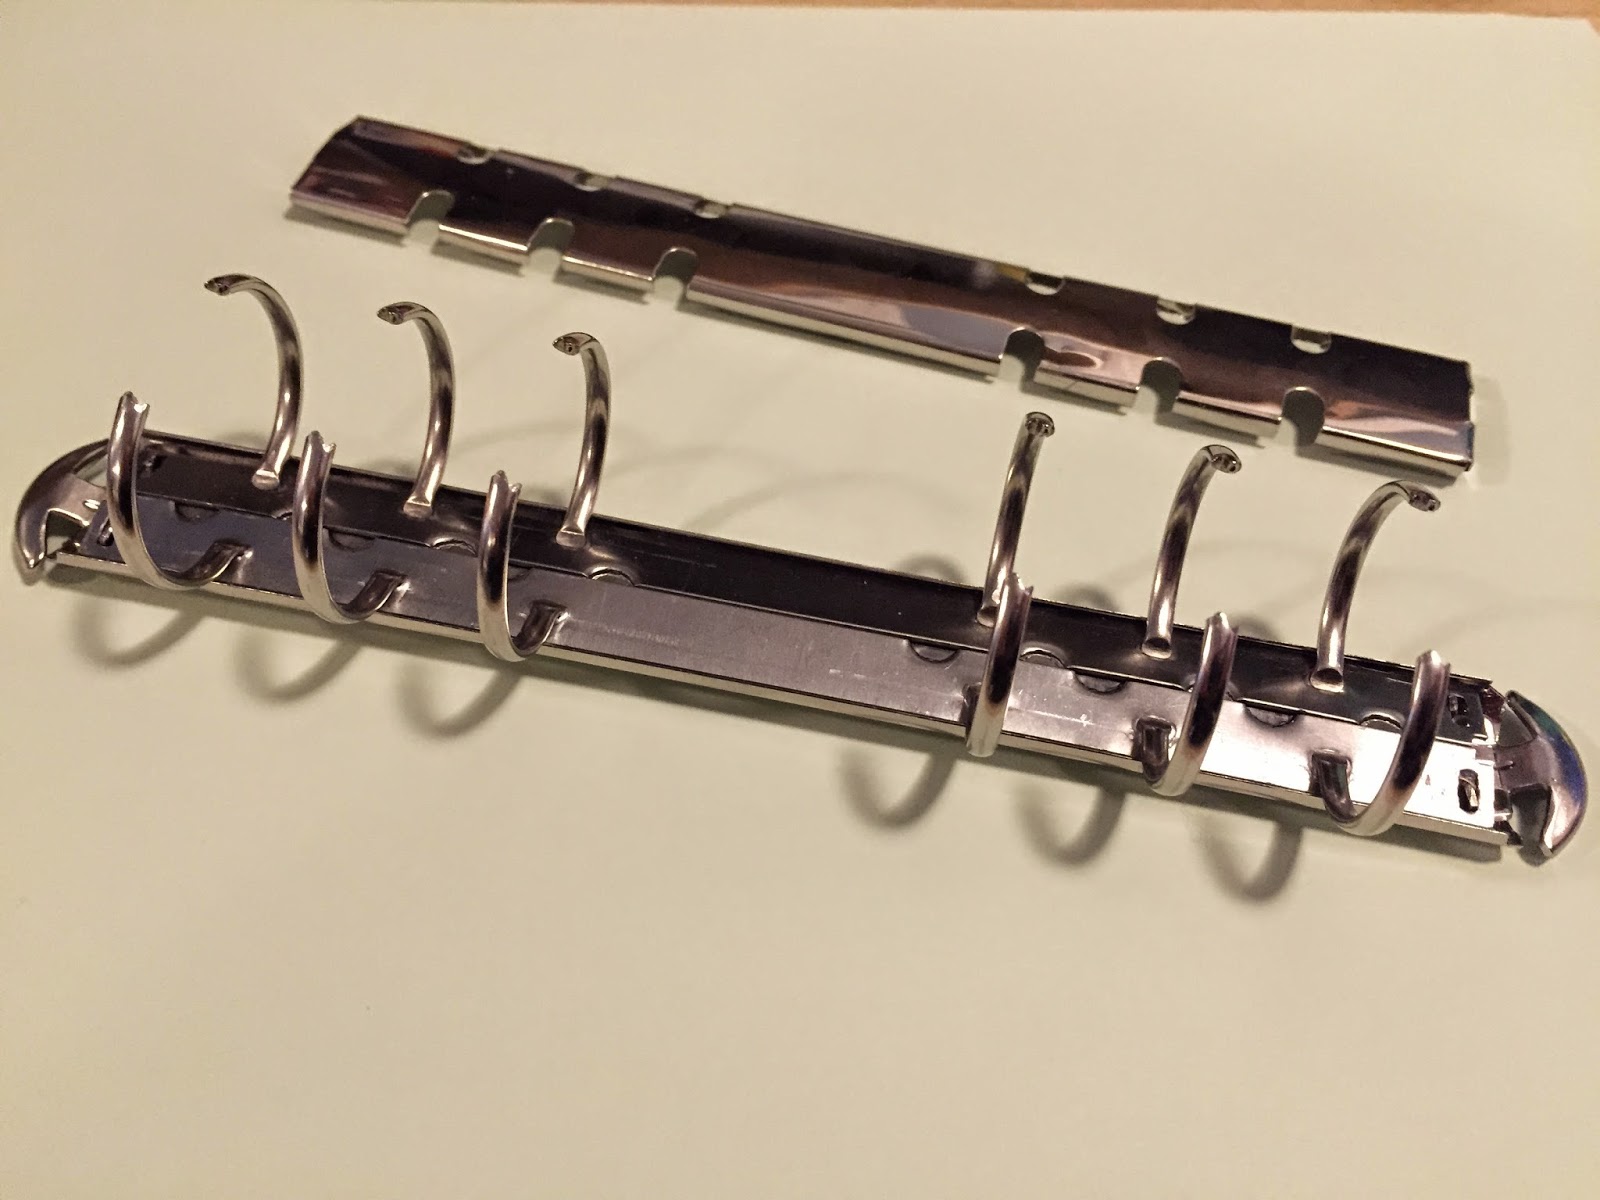
With the rings open now remove the tabs and pop them to one side.
Then remove the ring halves too and put them to one side with the tabs.
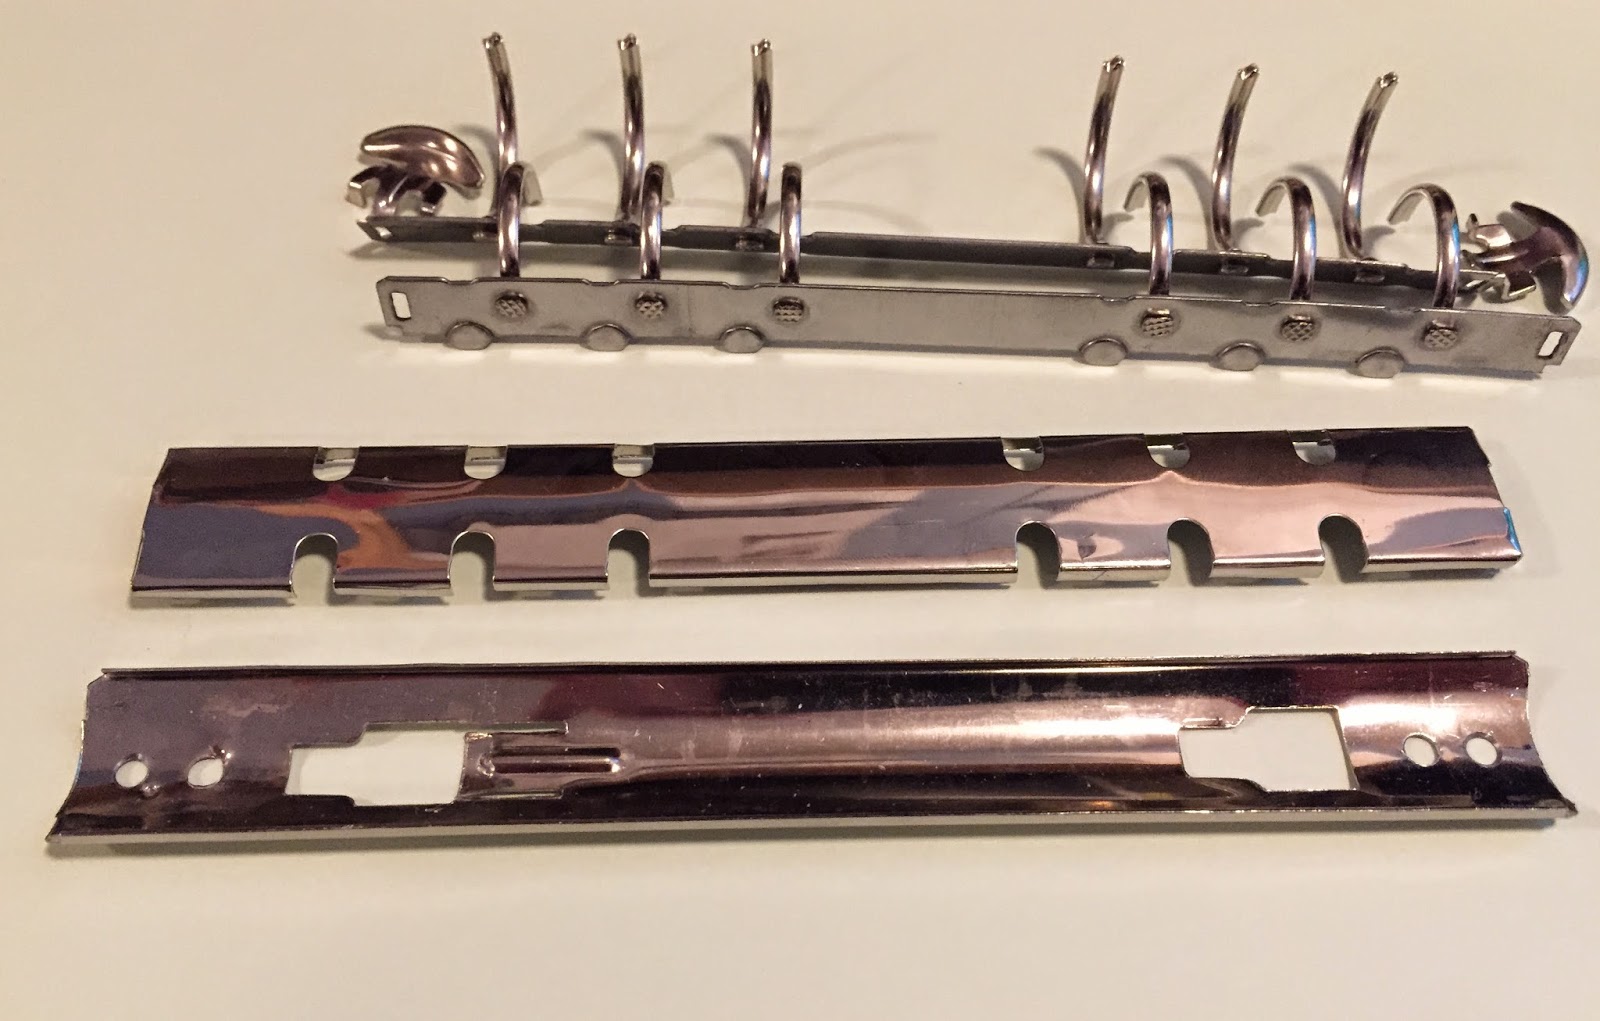
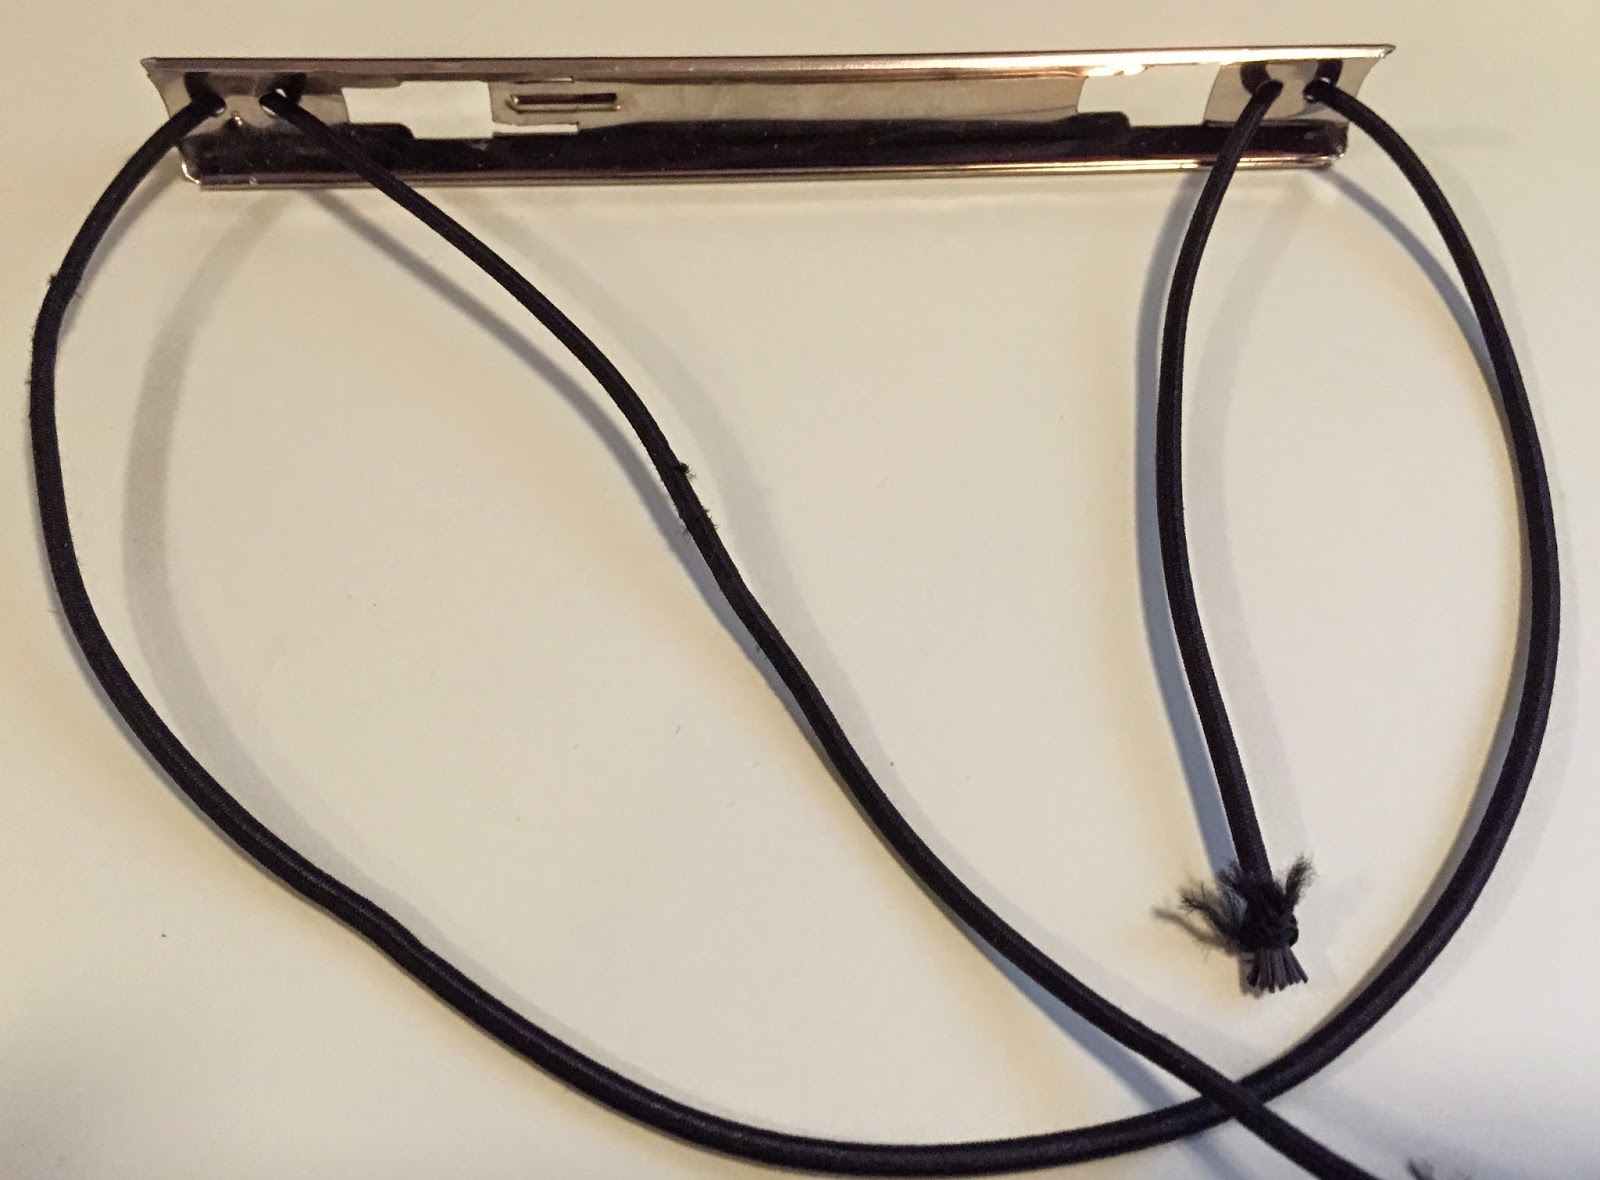
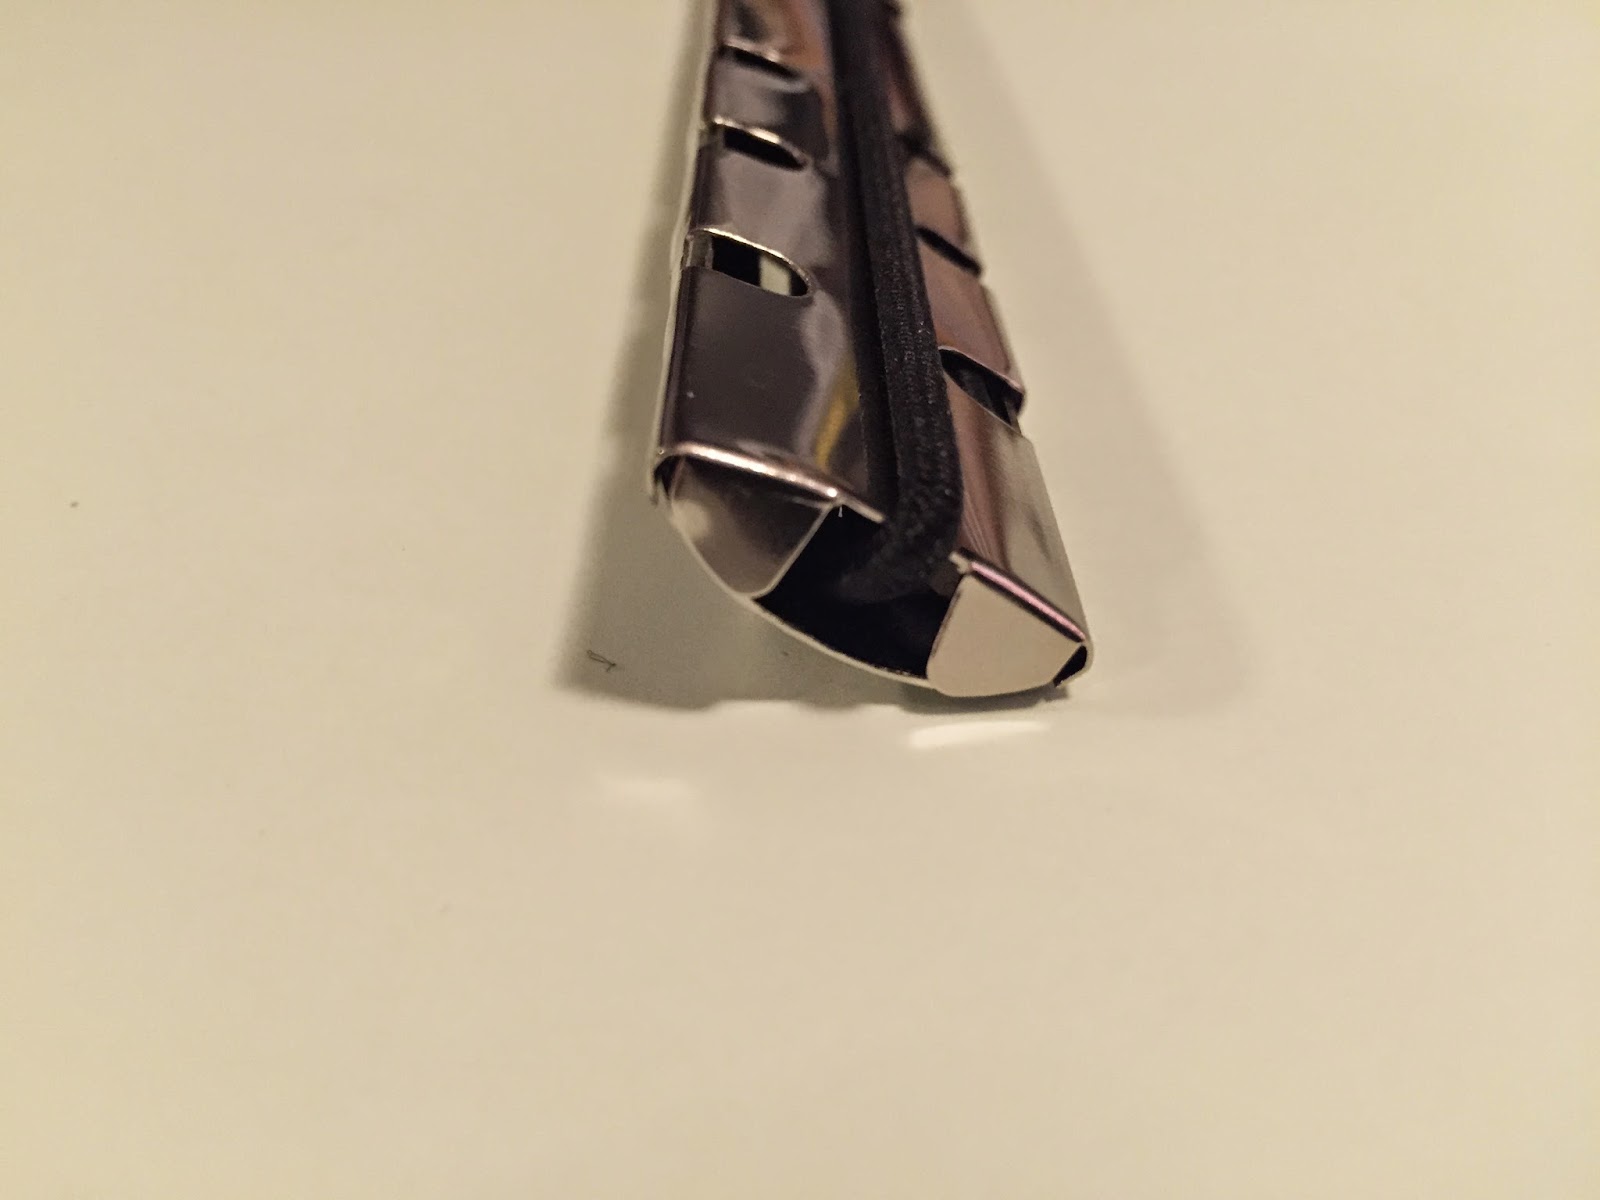
Now to use the base plate with elastics we need 4 holes, two at the top and two at the bottom. These are in a similar pattern as you would have the 4 holes in the spine of the leather cover on a conventional Travellers Notebook.
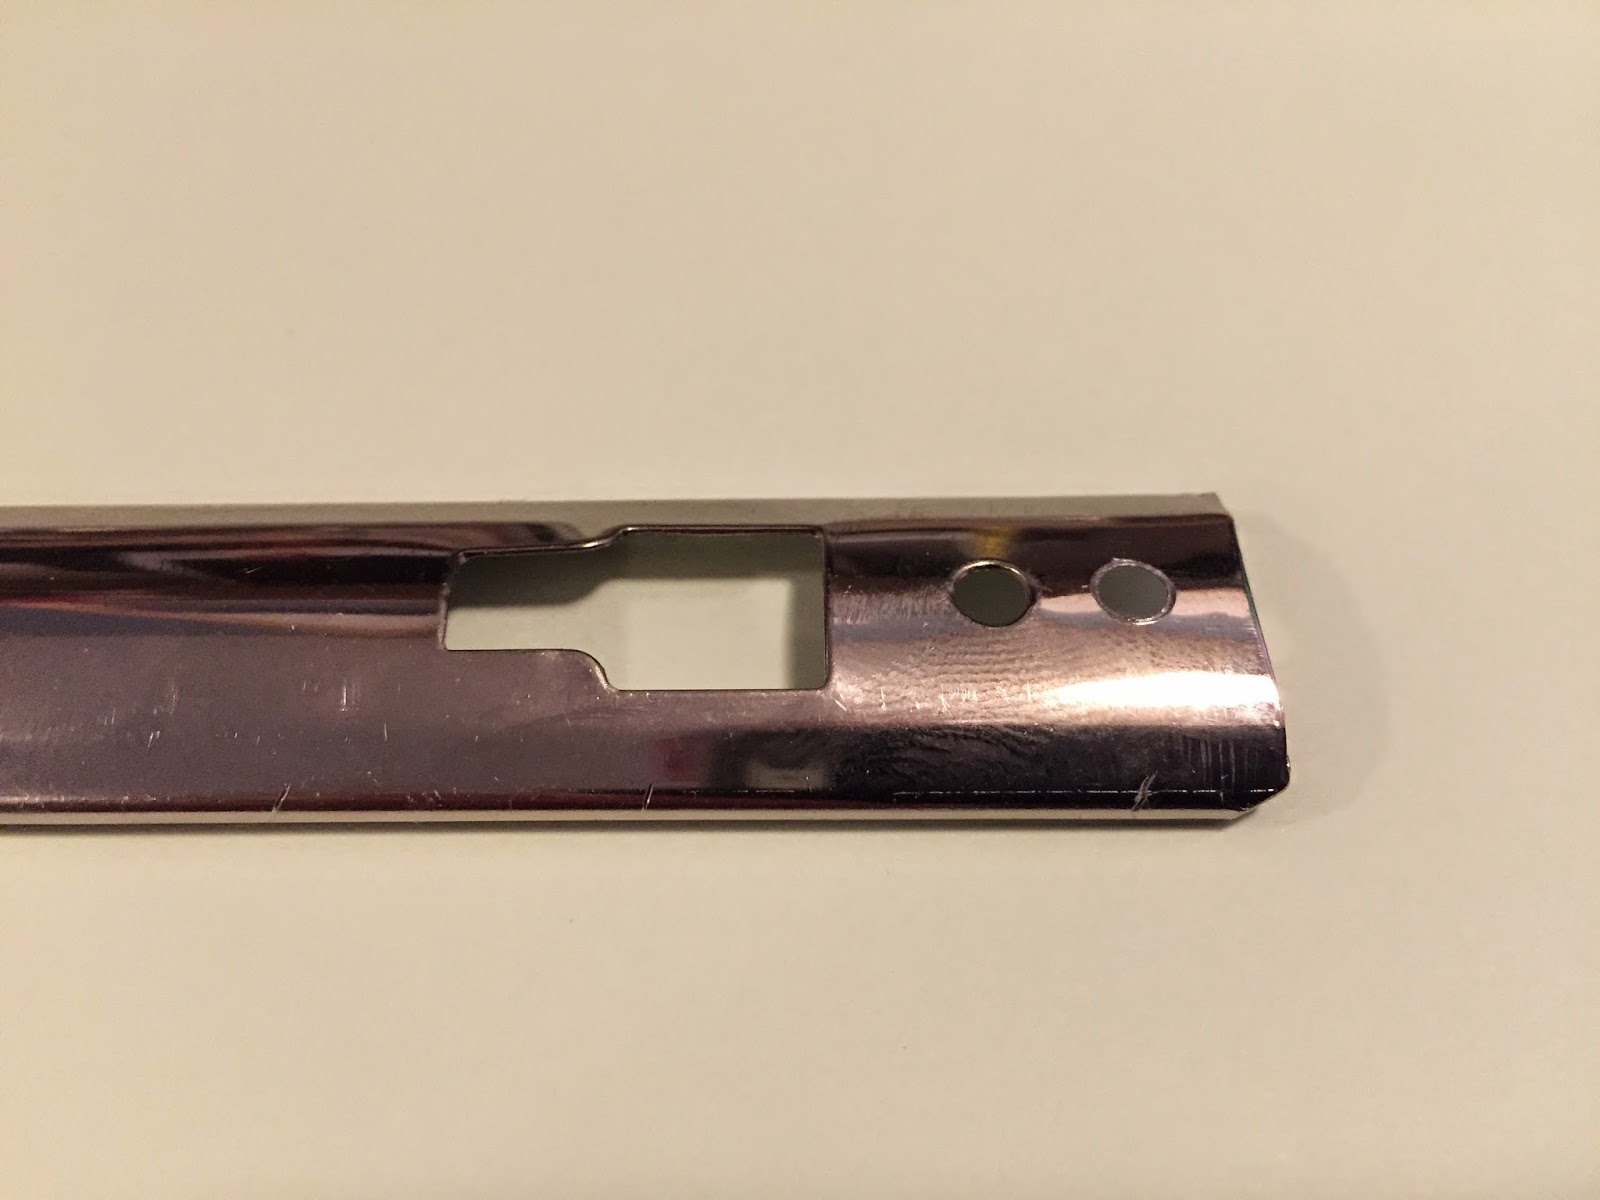
With the ring mech I was working with there was already a hole in the base plate at the top and bottom so I drilled some extra holes.
Now you could drill extra holes say 6 at the top, 6 at the bottom if you wanted 3 elastics, but I thought 1 would be enough to prove the concept. I made the holes a reasonable size to make threading easier!
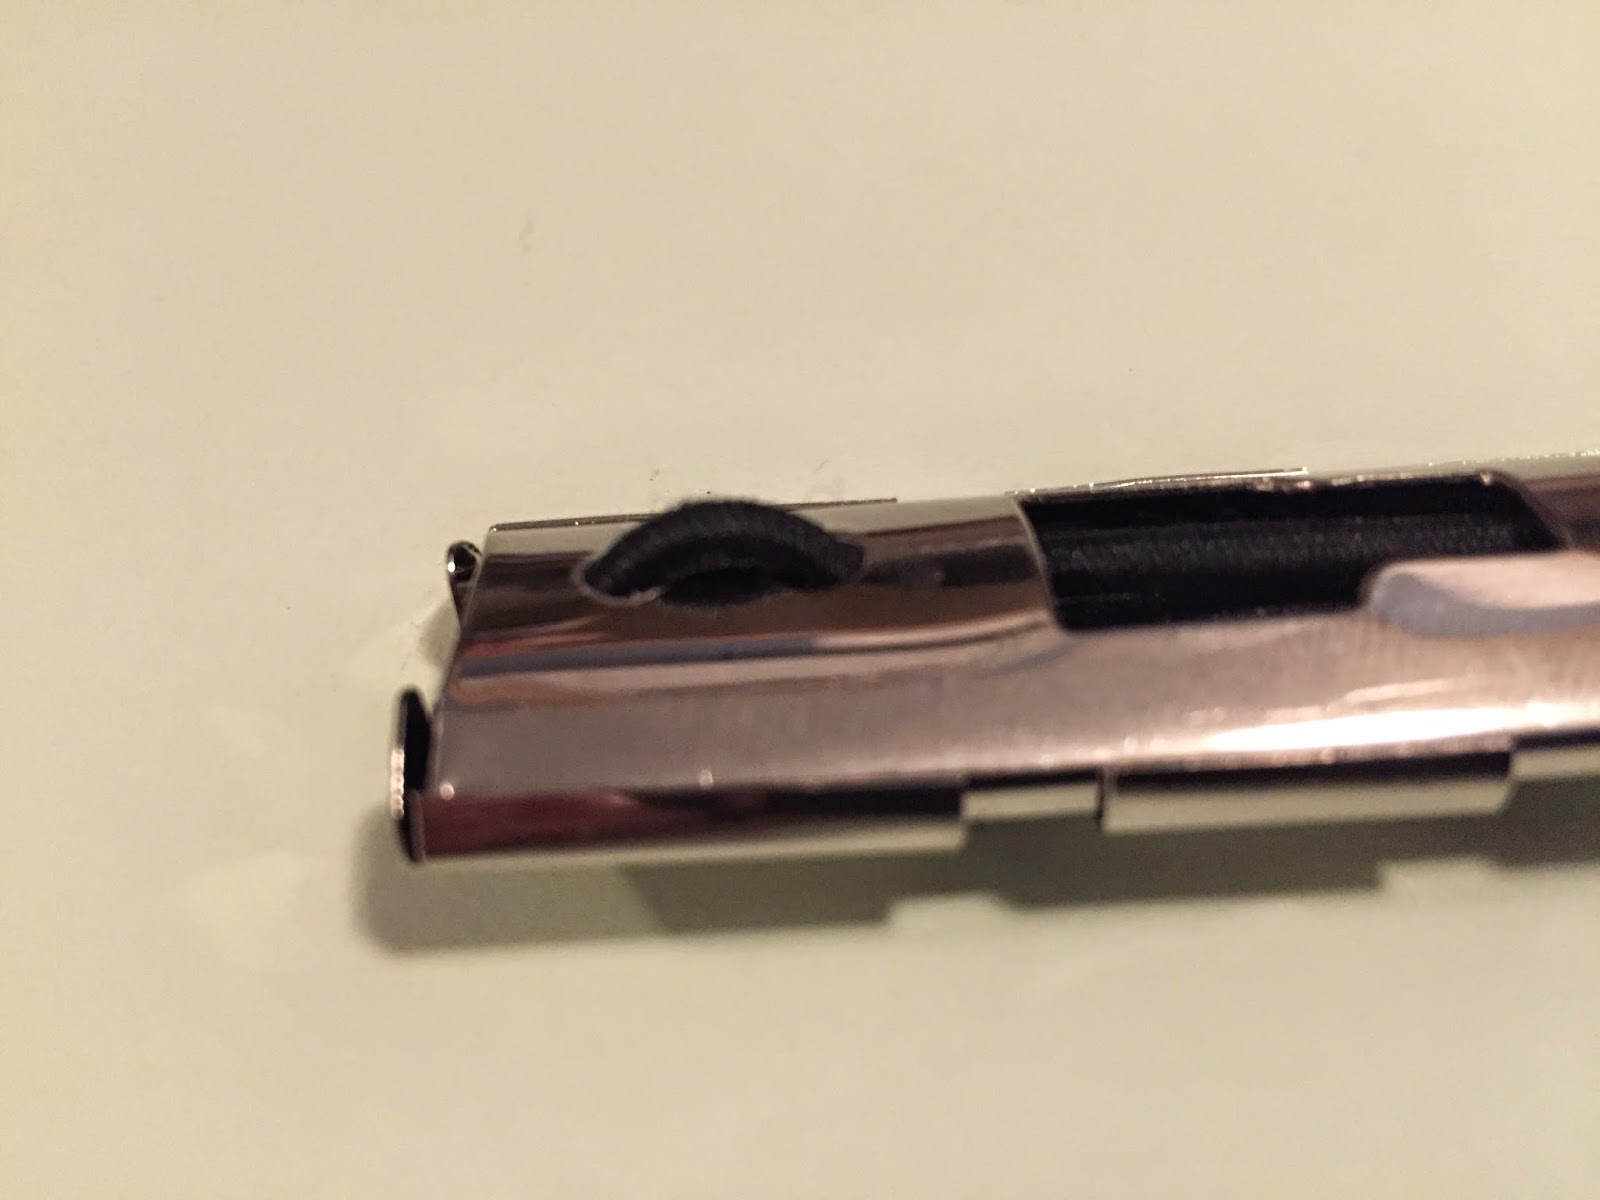
I then threaded this thick elastic through, it is thicker than normal, but it shows up better in the photos. The short length is tied together on the inside of the back plate with just the small loops going on the outside top and bottom on the back of the mechanism.
Once tied, you can then put the cover plate back on, this hides the short length and the knot joining the ends together.
Here you can see the short loops going between the holes on the back of the plate.
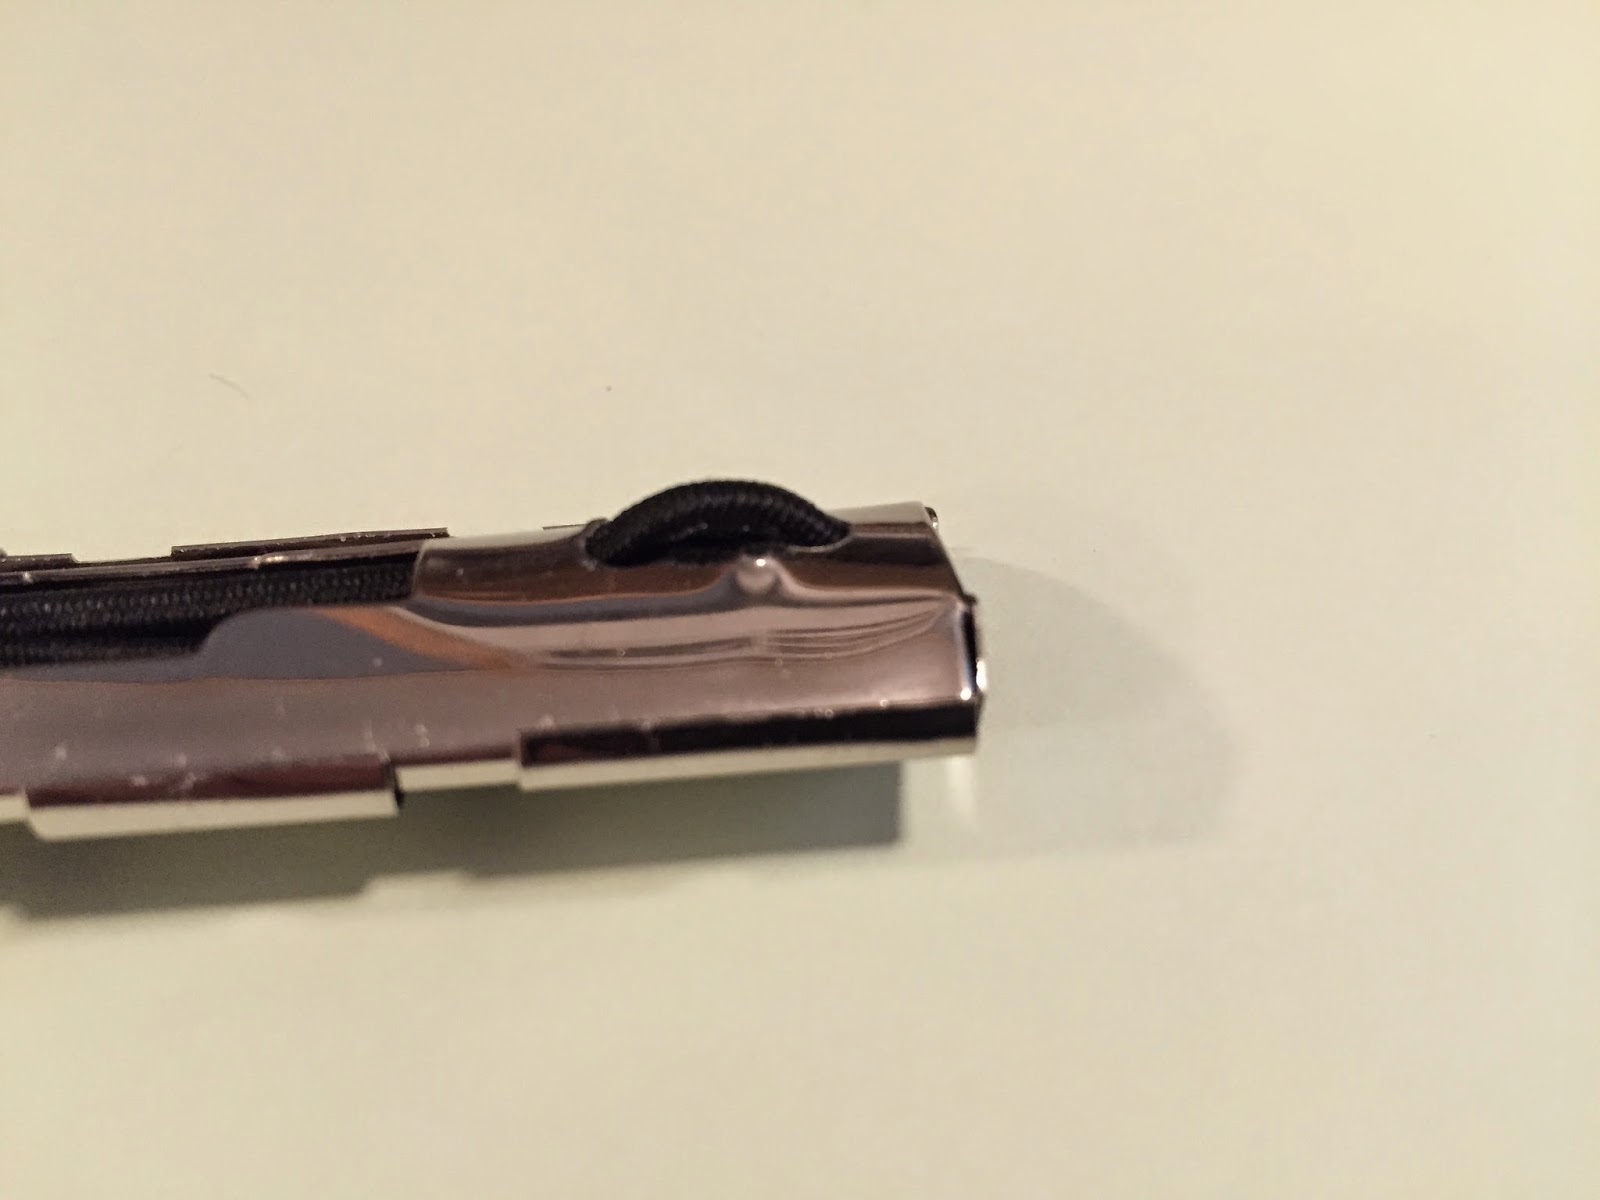
And at the other end just the same.
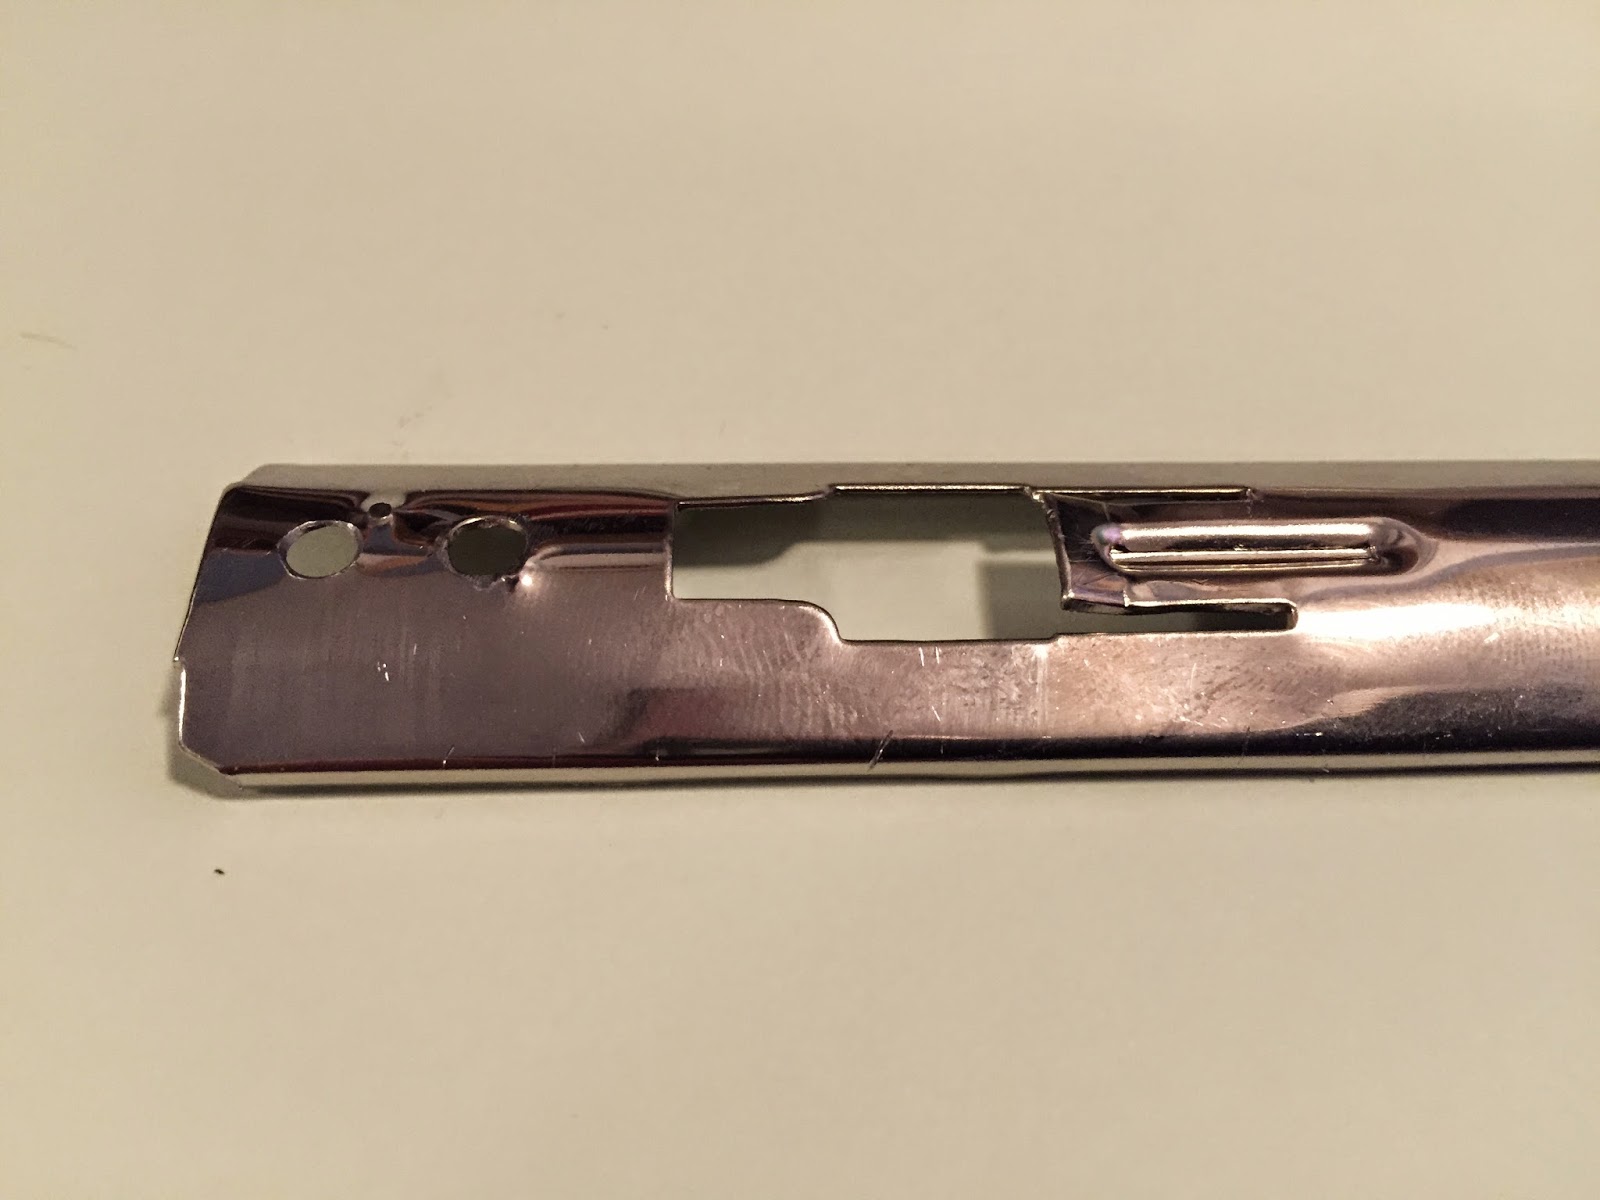
The longer loop comes out of the existing hole in the cover plate where the tabs would normally be. No modifications are required to the cover plate.
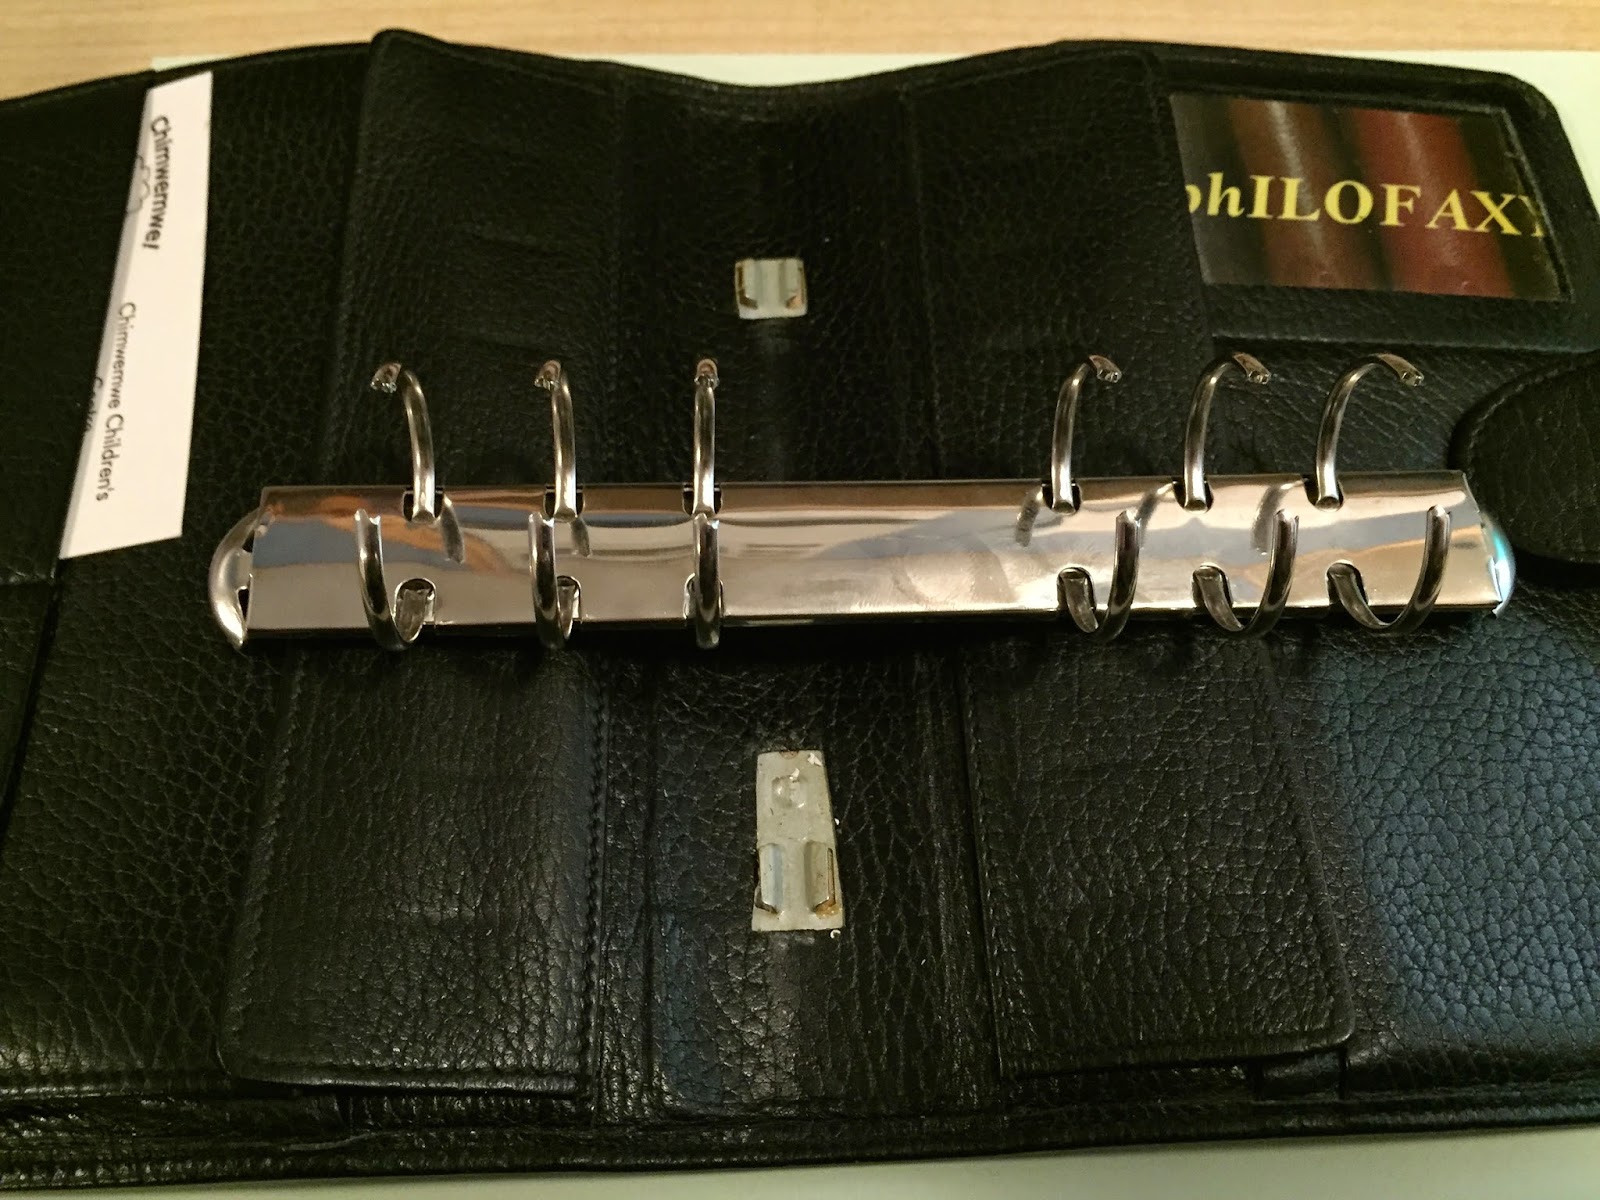
Now you can reinstall the base plate on the lugs as before and you now have your ring-less organiser.
If you wanted to, you could cover over the holes were the rings come through the cover plate with some Washi Tape, but with the booklets in the organiser you will not see them really.
I made a very simple notebook to fit. Being this is personal size the page size would normally be 171x95mm. But without the rings it can take wider paper…
The closest I had to hand was some A5 paper (210 x 148 mm) folded in half that becomes 105 mm x 148 mm. OK this is 22mm shorter than the ideal 170mm but the perfect width. So I made a cover that was 170mm high and 110 mm wide and stapled in my DiY booklet.
The cover being bigger stops the pages from moving up and down on the elastic. But if you were doing this modification on an A5 organiser… you would be fine with A5, Moleskine Cahiers without needing to worry about this.
You an string in additional booklets with elastics passing under the main one in just the same way as you would in a normal Travellers Notebook.
This particular organiser would normally have 30mm rings in it, that gives it enough capacity for 5 or 6 booklets easily.
So then you want to swap it back to a ring bound organiser…. Simple, remove the booklets, then remove the base plate, this time it is quite easy, because with no rings you can simply remove the top cover, lift the latch and slide if off the lugs. Remove your elastics. Then rebuild the rings, as below.
Once reassembled. as below.
You put the rings back on the lugs with the latch down until you hear it click.
And Robert is your mothers brother…..
A Filofax Cabriolet…. the best of both formats.
What started this idea…..
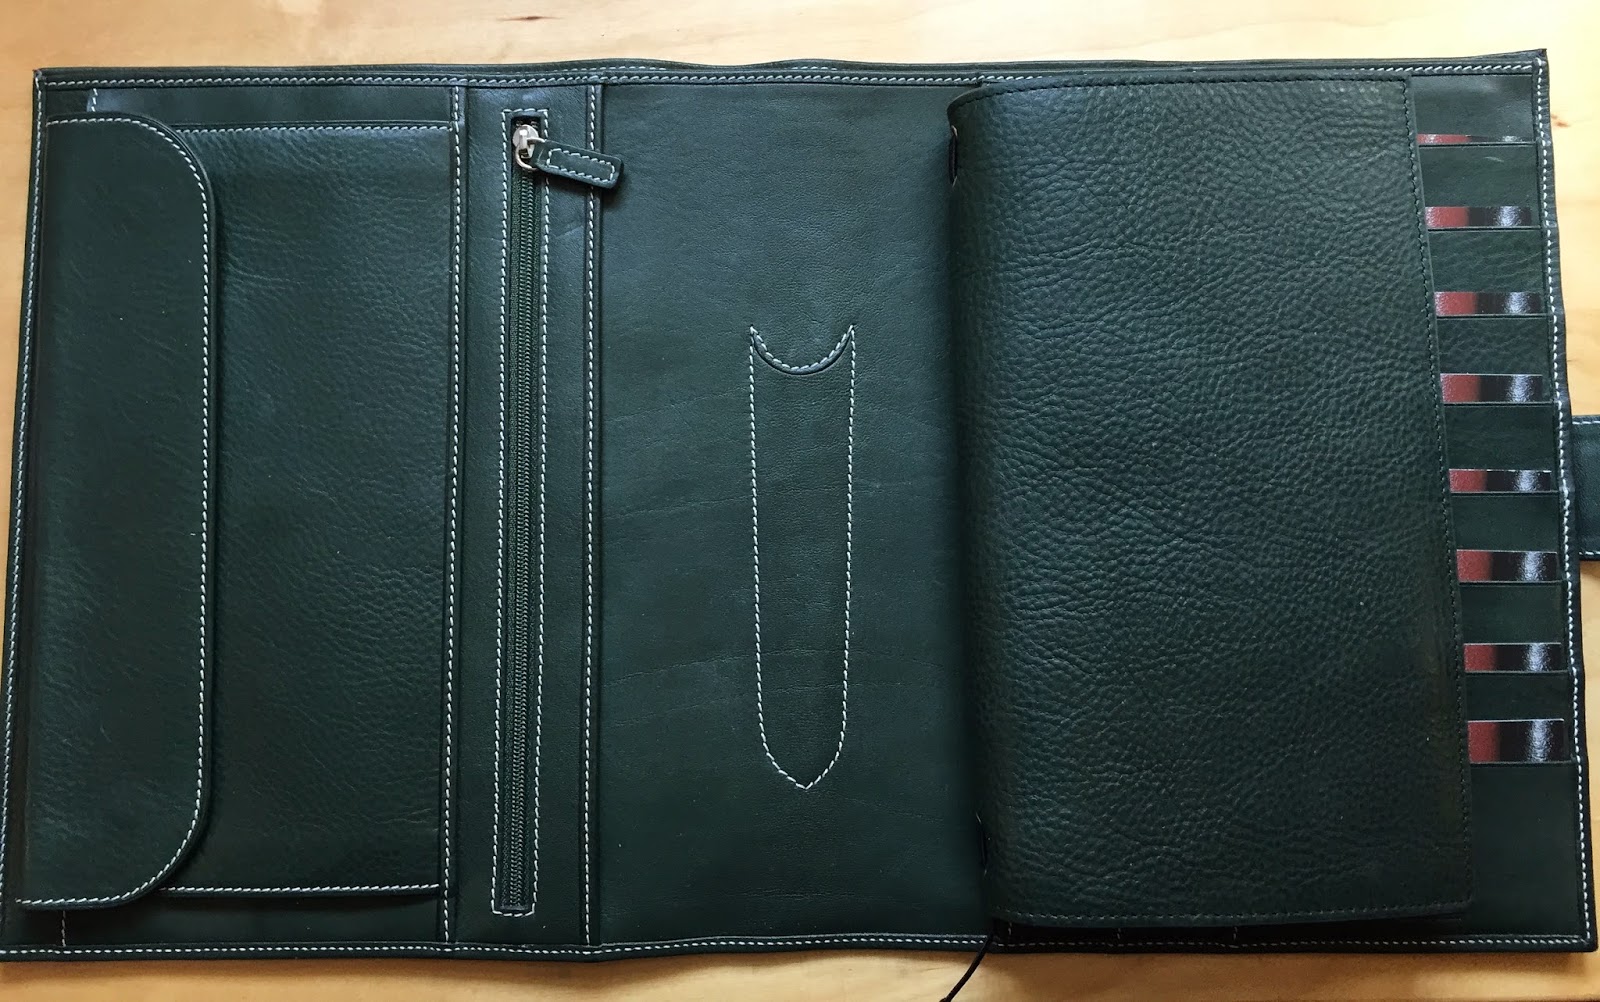
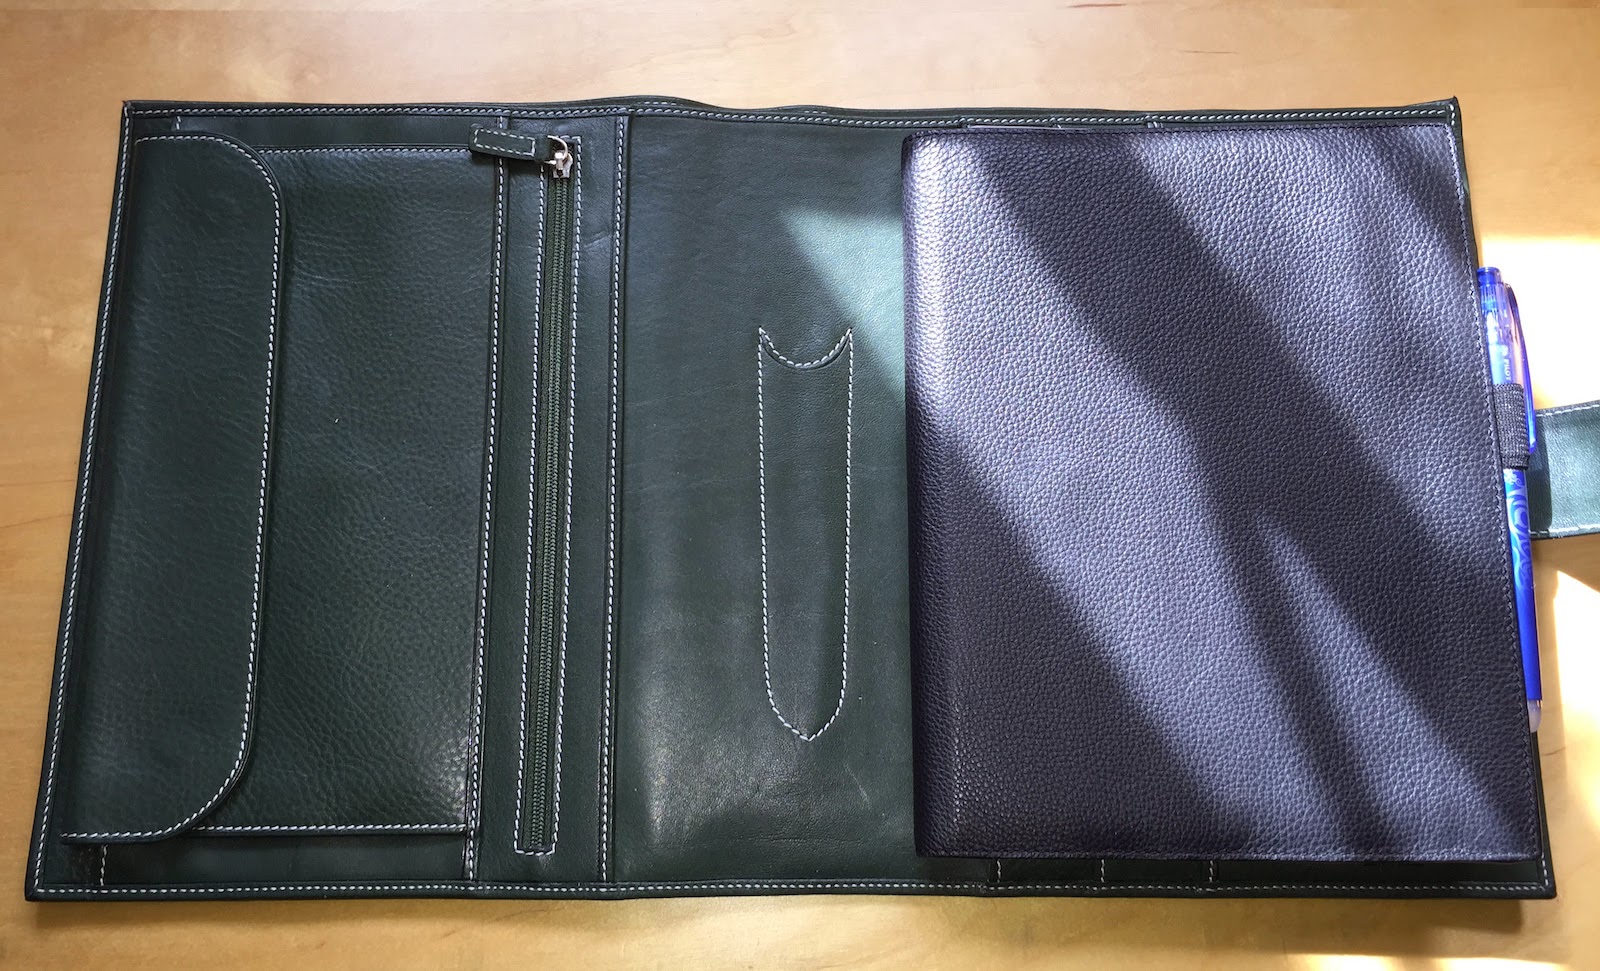
A Gillio A5 Mia Cara… in ring mode.
Which also takes my new Gillio Giramondo Notebook perfectly, may be this should be called a Gira Mia or a Mia Mondo
But the cover would also take a Filofax Flex leather A5 cover as well
Now not everyone is going to want to use a Gillio Mia Cara in this way I realise, but I was just exploring the possibilities.
I hope this inspires a few people to try to take an alternative route to trying out ring-less organisers.
This website uses cookies to improve your experience. You can opt-out if you wish.AcceptRejectRead More
Privacy & Cookies Policy
Privacy Overview
This website uses cookies to improve your experience while you navigate through the website. Out of these, the cookies that are categorized as necessary are stored on your browser as they are essential for the working of basic functionalities of the website. We also use third-party cookies that help us analyze and understand how you use this website. These cookies will be stored in your browser only with your consent. You also have the option to opt-out of these cookies. But opting out of some of these cookies may affect your browsing experience.
Necessary cookies are absolutely essential for the website to function properly. This category only includes cookies that ensures basic functionalities and security features of the website. These cookies do not store any personal information.
Any cookies that may not be particularly necessary for the website to function and is used specifically to collect user personal data via analytics, ads, other embedded contents are termed as non-necessary cookies. It is mandatory to procure user consent prior to running these cookies on your website.


You must be logged in to post a comment.